Once processing time and resources have been described in the activities of a ProcessView model, the cost associated with the resource time may be easily incorporated. If working in ProcessView version 2.0, there are two ways to incorporate resource cost; both are presented below. If working in ProcessView version 1.0, review the sections below that describe use of the 'Costing Rate' button.
Build a Costing Rate List using ProcessView Enter Data
Simply click on the drawing canvas and select the Edit Data button from the ProcessView toolbar.
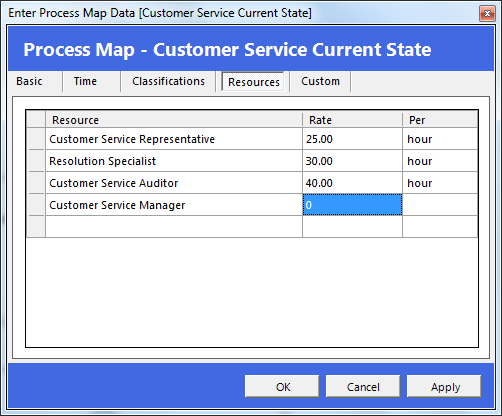
In the Enter Data Map Properties window, navigate to the Resources tab and simply type the Resources names and rates. Note that, if resources have already been defined in the process map shapes, the names will appear in the list presented. Once rates are applied, a costing rate shape will be automatically added to the page at the top left of the drawing canvas.

Build a Costing Rate List using the Costing Rates Button
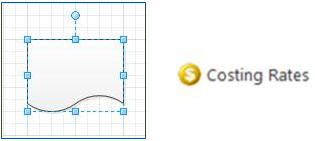
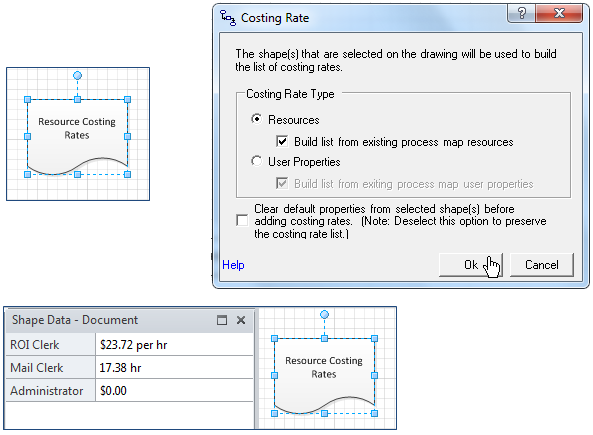
Simply drag a shape onto the drawing canvas and, with the new shape selected, click the Costing Rates button on the ProcessView toolbar.
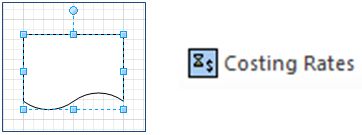
Note, if you are working in version 1.0 of ProcessView, the Costing Rates button will look like the picture below.
This will open the Costing Rates dialog. Note that this feature can be used to describe the cost associated with resource time or with time-based and quantity-based user properties. Select the ‘Resources’ option and, if this is the first time you are using the Costing Rates dialog, leave the ‘Clear default properties from…’ option checked, and click Ok.
This will review the active page and compose a list of all the Resources attribute values identified in the flow. This list will be written to the shape data window of the selected shape.
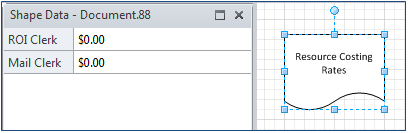
Enter the cost per unit of time associated with each resource in the list. Note that use of the ‘$’ symbol is optional. Also note that, if time units are omitted from the costing rate definition, ProcessView will use the default time units assigned in the Map/Page properties.
Add Resources to an Existing Costing Rate List using ProcessView Enter Data
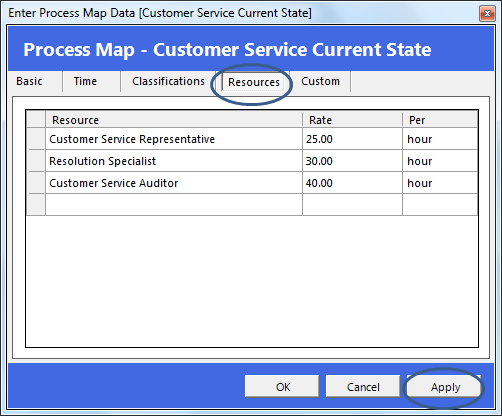
If new Resources are added to shapes in the ProcessView model, simply click on the drawing canvas and select the ProcessView Enter Data button. In the Enter Data Map Properties window, any new Resources will be reflected in the list; simply add the desired rates for the new resources and click Apply or OK.
Add Resources to an Existing Costing Rate List using the Costing Rates Button
Once a costing rate list has been defined for the Resources in a business process, if new Resources are added to the model, simply select the Costing Rate shape and return to the Costing Rate dialog to incorporate the new Resources into the list. Note that, once the list has been defined, the ‘Clear default properties from…’ option should be unchecked.
Remove Resources from an Existing Costing Rate List using ProcessView Enter Data
To remove unwanted Resources from a ProcessView model, simply click on the drawing canvas and select the ProcessView Enter Data button. In the Enter Data Map Properties window, use the Delete key to remove the unwanted Resources from the list and click Apply. This will automatically remove these resources from the Resources Costing Rate shape and from the Resources attribute for any shapes on the active page.
Remove Resources from an Existing Costing Rate List using the Visio Define Shape Data option
To remove unwanted Resources from a costing rate list, right-click in the costing rate shape’s shape data window and choose to ‘Define Shape Data’. This will open the Define Shape Data dialog where the delete key may be used to remove the unwanted items from the list. Note that this will only remove the Resource name from the Costing Rate list and will not remove the Resource attribute value from shapes in the ProcessView model.


